October 30, 2012

Knitting FOs

I finished a sweater that had been dragging on for years!  And wore it Fri--soft and cuddly :)


It's knit with a fuzzy silk yarn that is very stretchy and drapey, but the drape caused problems.  The first back piece I knit was 3-4" too wide.  Now I know to start on a sleeve, where gauge issues are less problematic and it's a smaller area to rip out.  Then I was not so wise.  

The sleeves, which I made sure to knit nice and long, turned out to have monkey arms.  I snipped off the extra 3" and conveniently was able to add it to the sweater's lower edge, thus making it plenty long enough to cover my tummy and keep out drafts.


And some socks for my mom.  They kept getting pushed aside for other projects, until recently when I was in the mood for a simple project.  I also wanted to finish them.  They're my 13th pair of socks, in about as many years.


I was excited to have finished two projects in quick succession, until I realized that I have nothing to knit!  Time to start a couple new projects...

October 23, 2012

We Interrupt This Migraine...

To quickly bang out a blog post. I have been productive with knitting, though. I'm almost done knitting a sweater, finished mending another sweater and am 3/4 done with a pair of socks.

*Picasa ate my photos.  I can't find them to replace them.  I'm sorry.

I have no idea how but one of my sweaters got a tear (or bite?) on the sleeve. I didn't knit this one but it's worth saving for the yoke pattern, echoed at the cuffs. It took me a couple years to find yarn close enough to mend it--sock reinforcing yarn in fact.  Fine black yarn is hard to come by!  Then more time to learn and try a few mending techniques, wait for summer and enough light to mend by, and finally now it's finished.  The fix is pretty invisible when worn, on the underside of the lower sleeve.


Because multiple stitches and rows were destroyed I couldn't just sew over a couple stitches and be done.  I picked up loops of mending yarn above the start of the tear and knit a rectangular patch over the damaged area, sewing the sides of the patch to the sweater at the end of every row.  I accidentally moved over half a column on the left side but it's hardly noticeable.  At the bottom I sewed the patch to the sweater, then wove all the ends in from the back.  The tear was tacked to the patch from the back for stability.

The mend: 1"w x 1 ¼"h  

Inside: tear is diagonal


October 9, 2012

Baby Knits

Babies aren't my thing, but I can get as excited about a teeny tiny (quick to knit!) baby sweater as the next person.  And booties.  This project started out poorly, when the pattern I chose was toddler sized despite being titled Baby Sweater on Two Needles.  However, 75% of the original values creates a baby sized version.

With most of the remaining yarn I knit itty bitty booties.  They're 2.5"/6.5cm long.  All this from less than 220yd!  Now I'm back to working on adult sized projects.


September 29, 2012

Sweater Placket How-To


Or, How to steek a placket: 

*This works best in non-superwash wool.  Steeking relies on wool's tendency to stick to itself so with cotton, soft wools and other fibers it's best to test a sample first.

Instead of knitting a sweater in flat pieces, sewing them together, and dealing with all that purling…knit it as a tube and insert the placket afterward.  You gain the benefits of knitting in the round, especially good when doing colorwork.  Plus you choose the length of the placket after the fact, when you can try on the almost finished sweater.

To begin with, knit a pullover sweater.  Try on the sweater and place a safety pin, stitch marker or piece of yarn where you want the placket to end.  Make sure you measure or count stitches to find the exact center front of the sweater.  My example has a cable around the shoulders with 7 plain sts at center front.  The central 3 sts will be used to create the placket.  If you've never steeked before it's a good idea to try this out on a swatch first.

Baste down the middle of the central stitch with contrasting color sewing thread (I used white), making a horizontal mark at the desired base.  With a sewing machine, matching thread, and a very short stitch, sew a straight line half a stitch to one side of your basted line.  When you reach the basted bottom, pivot the needle 90º to stitch across the center stitch.  Then pivot 90º again and stitch up the sweater half a stitch on the other side of the center stitch.  Backstitch at the beginning and end of each stitching line.  If your yarn may fray, stitch a second reinforcing line half a stitch away from the first.  I reinforced the bottom of the second line of stitching as well.

Basted with 2 lines of stitching
...and ready to cut


Once you've machine stitched and double checked that your cutting line is correct, cut right down the basting stitches.  You're cutting the center front stitch in half and only want to snip the horizontal strands that connect each half of the stitch.  With wool or a wool blend, non-superwash, the stitches should stick to each other.
The cut slit, stitches secure

Remove the basting thread and you're ready to pick up stitches on either side of the placket, 1½ stitches from center front.  The cut edge will fold to the inside and stay nicely out of the way.  If you wish, tack down the raw edges with some yarn or thread.
Picking up placket stitches


I began with the placket overlap, picking up stitches vertically and knitting enough rows to more than cover the 3 stitch gap, then cast off.  You can either pick up a few extra stitches along the bottom edge and knit those together with the last knit stitch every other row, or sew the bottom of the overlap band to the sweater.  I sampled both methods on a swatch and chose the former.  I forgot to take photos at this point I was so excited to be almost finished ;)


To create the underlap I picked up stitches the same way, but 2 fewer sts, then knit the same number of rows and bound off identically.  The bottom of the two layers are staggered and create less bulk.  The base of the underlap was stitched securely to the sweater.

There you have your henley placket, nicely finished from the outside and stable on the inside.  This placket has no buttons or buttonholes but go ahead and add them if you wish.  The neckline of my sweater was bound off with 2 st I-cord.  I knit 3 rows I-cord per 2 decreased sts and it lies flat on the body (though not in photos).


Finished placket, pre-steaming
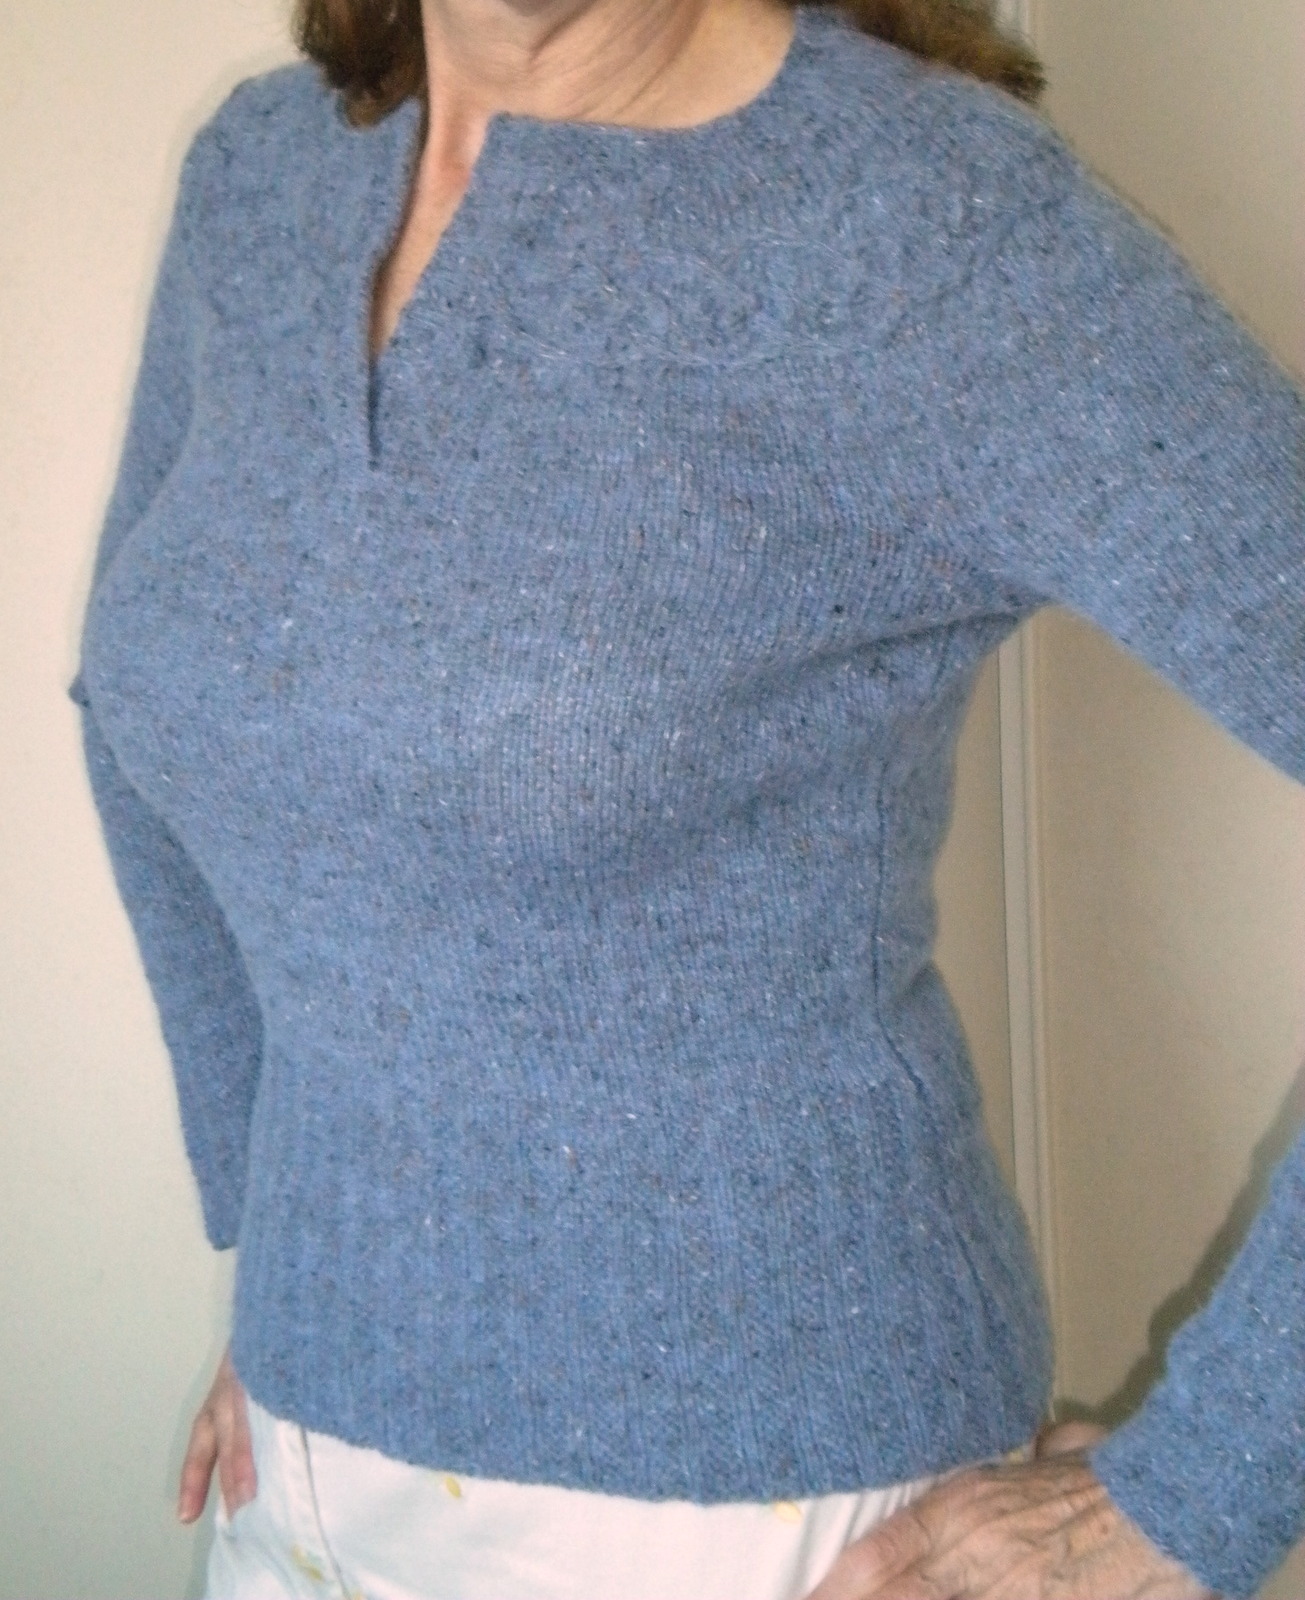
Ta da!


September 20, 2012

My Mom

In a word, my mom is amazing.  I've dealt with chronic illness for 19 years and she's supported me the whole way.  While friends and community have fallen away, she's remained despite the pain she feels seeing me in pain.  My entire life she's been loving and supportive.  She's my best friend.

I mentioned hoping to go to a party last weekend and she said she'd drive me.  That would involve over an hour of driving just to pick me up and drop me off, plus her evening gone, but she's happy if it means I can see friends and enjoy myself.  I do the best I can to take care of myself, and I work really hard at it, but for the many many times I fall short it's so good to know my mom has my back.

That's why I was thrilled to discover that the Tangled Yoke sweater fits her perfectly!  She was so excited to have a new sweater, it's essentially made to measure for her, and the project was an unmitigated success :)
My beautiful mother in her new sweater :)

I took some in-progress photos while creating the front placket, so stay tuned for that mini tutorial plus better photos of the cable.


Related Posts Plugin for WordPress, Blogger...