April 28, 2012

Her Royal Sockness

A pair of socks for Mother's Day in regal purples:


What's better than new socks and spring out the window?


The stripes match up pretty well.
There wasn't enough of the striped yarn for two socks so I added purple toes, 
and knit the second sock with a purple cuff.  She loves it!


Note my almost-famous sturdy heel ;)

I'm always fascinated by the way striped yarns act based on stitch count.  Sometimes you get stripes, other times you get pooling like the grey blob at bottom right.  Thankfully it doesn't extend across the instep.

April 23, 2012

Gah, Google!

First they mess with Blogger, removed a couple of my favorite features.  Then today I noticed that absentmindedly moving photos in Picasa deleted them from my blog, so I skimmed through and replaced photos in my entire blog.  I've written a lot!  A few weird issues popped up, of course, but everything should be working again.

I had a date last night and am trying to stay positive.  It wasn't a bad date, it just wasn't easy or fun.  Part of me knows I'm looking for a man I'm comfortable with, that just being together isn't work.  The other part of me wonders whether he exists, or I'll ever find him, and doesn't know what to do about that.  Then I see happy couples doing Spring-type stuff and it sucks.

April 19, 2012

Comments and Replies

I generally like Blogger but missed the ability to reply to comments via email.  Now I can.  The catch is it requires the reader to do a few minute's work.  Here's how, if you're so inclined:

If you have the older Blogger interface please follow these excellent directions.

In the new Blogger interface, click your icon in the top right corner.  A box pops out, click "Blogger Profile", and you'll be navigated to a new page.
Scroll down to User Profile and check the box "Show my email address".  Then under Identity make sure that your desired email address is entered.  Click Save Profile at the bottom and bob's your uncle!  Now Blogger bloggers can reply to your comments.

I've passed the 200 posts mark and a huge thanks to everyone who reads my blog, and especially to those saintly few who comment.  I love each and every one of you!  Readers give me so much motivation to keep trying.

April 17, 2012

Knit Skirt How-To


Update: I goofed on the yardage!  Updated values include the waistband.

I took the pattern for this 
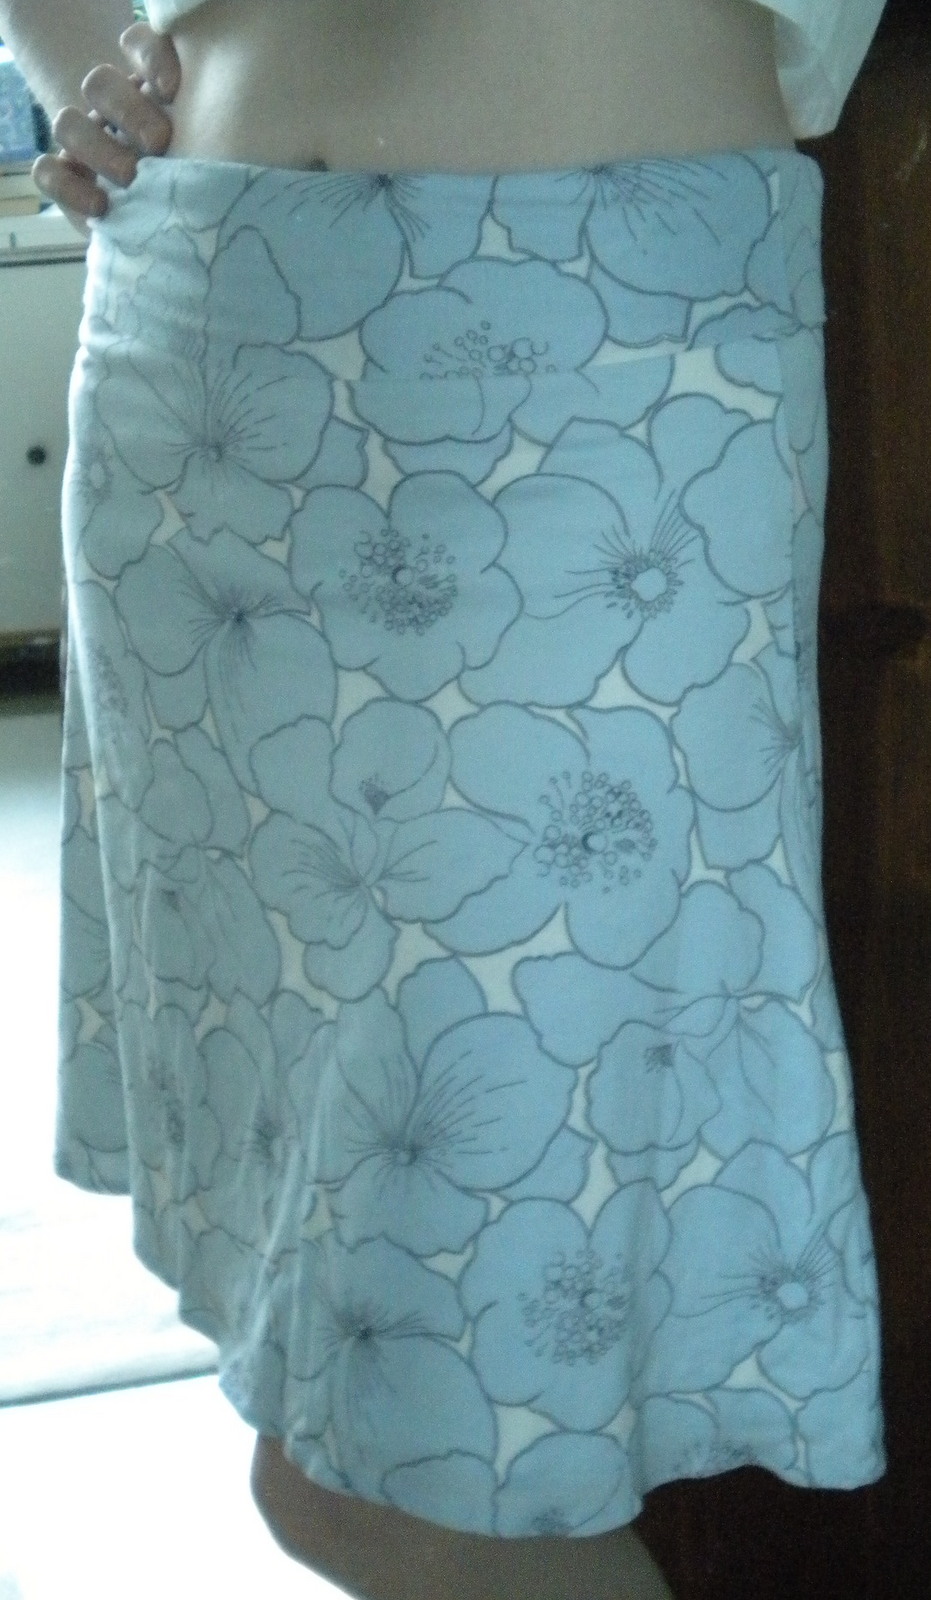
knit skirt from a yoga skirt I own.  The pattern and construction are very easy and flattering.  It doesn't have the beautiful drape of Tanit-Isis's gored knit skirt but the economical cut allowed me to sew a camisole from the leftovers :)

Depending on the degree of stretch in your fabric, desired fit, and your measurements, these dimensions can be changed.  I'm waist 71cm, hip 95cm.
Seam allowances of 1.25cm (1/2") and hem allowances of 2.25cm are included.

Fabric: 0.9m/1yd, 120cm/48"+ wide knit
A lightweight jersey with lycra is ideal; to reduce curling don't prewash.
Cut all pieces with the greatest degree of stretch horizontally (around your body).

Waistband: Cut one piece 30cm x 78cm, or two pieces 30 x 40cm and 30 x 41cm
Skirt: Cut two trapezoids as shown below.  I cut the back piece upside down since my print isn't directional.  Your yardage will differ if cutting both skirt pieces right side up.

*If your fabric is wide enough cut each half of the waistband from the triangular areas top left and bottom right in the diagram.  This will reduce the yardage to 0.6m/yd and make the Earth happy :)

If your fabric is sheer a second identical layer can be used as lining.  Treat both skirt layers as one.  If the lining has less recovery than the skirt fabric trim 2-3cm off the lining and hem separately.

Assembly: Using a narrow zig zag or serger, sew the short ends of the waistband right sides together.  Press open, fold in half lengthwise wrong sides together and press.  The waistband will be worn folded over.

Sew the skirt side seams.  Sew the folded waistband to the skirt's top edge, pinning and matching by quarters to ensure even distribution.  If you cut the waistband in one piece place that seam at center back.  Otherwise sew a piece of ribbon or a label to mark CB.  Press all seam allowances toward the skirt and topstitch.
  
Try on the skirt to check hem length and evenness.  Trim as needed and serge the hem if desired.  Turn up 2-2.5cm and stitch close to the raw edge.  I used a 3mm long x 2mm wide zig zag; a twin needle or coverstitch would also work well.  

April 16, 2012

Done, Almost Done and Coming Attraction

I've satisfactorily finished a top, from bleached muslin.  It began life as Simplicity 2936 but I altered just about everything.  Side bust darts added, back seam with swayback alteration, it slips over my head, internal bias strips for facings, sleeves narrowed, and darts in the raglan sleeves.  Last I added two bias loops to the rear darts at waist height and cinched them with a loop of elastic cord.  I used a ribbon at first until I realized just how hard it is to tie a bow behind my back!  Boring front-facing pic.


And a skirt that I finished two years ago but have fiddled with ever since.  Made from two trapezoids of lycra/rayon knit, lined with white jersey (old t-shirts), and two rectangles for the wrap-over waistband.  The lining sagged after wearing and required surgery to shorten the lining and rehem the layers separately.  The hems edges were serged, turned under, and zigzagged down.  The blue print hem still needs an additional row of stitching to stay flat after washing, then it'll be done for real ;)


The jersey creates a lovely drape and doesn't cling during hot weather.  I even accidentally fabric matched at center front :)  The outer fabric is translucent and looked best with a white under layer, so lining it was!

I apologize for the blurry back photo.

Hem detail

There was enough fabric left after the skirt to squeeze out a top, which just needs a few finishing details.

Next on my agenda, aside from sewing, is to create a DIY Serger oiling, cleaning and timing tutorial.  This will be a lot of work but with sunshine I'll have enough light for photos.  I'm hoping to feel well enough to dive in and get it done quickly.

April 14, 2012

Sewing Fail

I cut out and basted what I hoped would be a new top today, from New Look 6871.  It looks like maternity wear.  You can't tell from the envelope but the back is just as gathered as the front.  The armholes in front gape, due to the yoke and body connecting at the wrong angle.  I may reduce the gathers or turn them into inverted pleats and try again.  I forgot to take photos and it's half disassembled now.  Oops.

I'm disappointed because this took half my afternoon.  I so wanted to make a cute top, or just something!, but doing anything is hard when I'm in so much pain.

April 8, 2012

Happy Easter

Wishing a Happy Easter to everyone!  Spring has arrived here in Seattle as well :)  Today it was 60F and sunny, the best day this year.  People are thrilled to have long days again and sun!  Hibernation has ended.

I haven't made any sewing progress, sadly.  I'm at a stage with the jumper where it would be so much easier to have fitting help.  I just need to buckle down and finish.  I also have a flurry of new project ideas in mind and should settle on one--a quick successful project is just what I need.

Instead I've been knitting, a lot.  This short sleeve sweater is almost done, it's waiting for buttons then the other half of the button band.  It's knit with a combination of two cotton ribbon yarns, with stripes of reverse stockinette to add texture and show off the colors.  The ribbing pattern is one I made up.

I'm currently deadline test knitting a stocking, very hush hush ;)


I also made a ruffle silk/mohair scarf and am finishing a pair of socks, both for my mom.  The scarf is almost embarrassingly easy--made with Rowan Kidsilk Creation and crocheted following the instructions on the ball band.  Rowan has videos showing both knit and crochet versions.

An early Mother's Day gift
Related Posts Plugin for WordPress, Blogger...