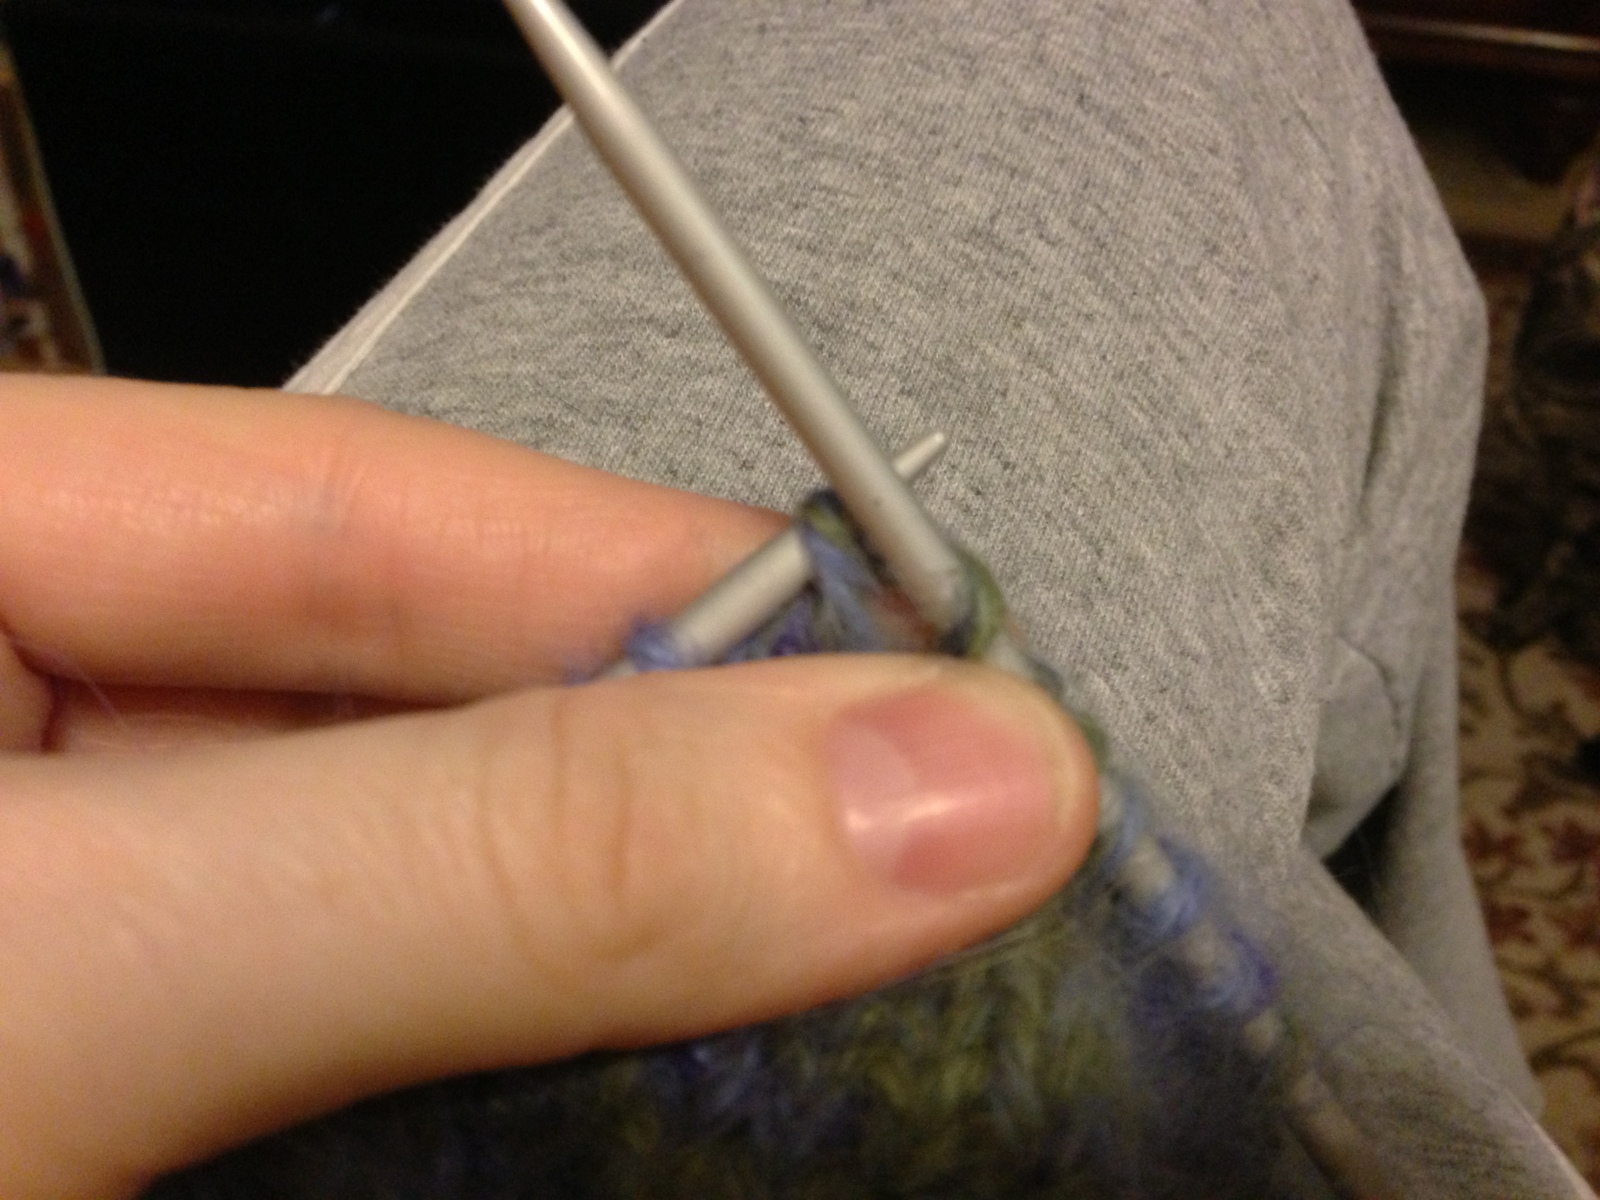
On some knitting projects knowing how to knit backwards (left to right) is very handy. I put together a tutorial to show how I knit backwards. There are a handful of pictures and short captions and I hope it's helpful to others.
Showing posts with label techniques. Show all posts
Showing posts with label techniques. Show all posts
November 18, 2012




May 30, 2012
Easy (Almost) Invisible Fair Isle Increase

Knit to your increase point, knit the stitch with both colors, and you've worked the increase! For the gusset I increased after the first marker and before the second marker every round. I really like that it doesn't draw pull the work vertically like a lifted increase.
One downside: both colors of yarn are slightly visible at the base of each stitch, especially before blocking. Your increase also cannot be the same color as the stitches on both sides.
 |
| Insert needle to knit |
 |
| Wrap both colors of yarn around the needle |
 |
| Pull both strands through and one stitch has become two |
 |
| After working 3 inc's on each side |
 |
| Other side of gusset |
 |
| The finished gusset |
November 20, 2011
Leaf Quilt--Done!

I finished the autumn leaf quilt! The blocks were completed several years ago, it remained to sew them together then quilt and bind everything. The quilt is quite large, about 5' x 6.5'. The perfect size to snuggle on the couch with a companion :) Now to find a snuggle buddy...
I'd planned to use some cool free motion quilting designs, before I knew how hard that is. Instead I quilted mostly in the ditch with some free motion on the white inner border.
The leaves have Art Deco-ish straight line designs, more visible from the back. I added yellow perle cotton bobbin work to outline the sawtooth border. I may add a line of burgundy stitching outside the dark red border.
 |
| Leaf Quilting |
 |
| Sawtooth border; free-motion quilting |
At right are the sawtooth and white borders. The edge of the quilt has a 3" wide dark red border, 1/2" white border, then green binding.
More photos here
More photos here
 |
| Back: leaves |
The bobbin work was done using a straight stitch, 3.5mm stitch length, invisible nylon thread in the needle and perle cotton in the bobbin. I bypassed the bobbin case's tension spring when inserting the bobbin.
You can also couch thicker threads, especially textured threads or yarn. In that case use a narrow zig zag, nylon or matching thread, and pull the thread through the hole in your needle plate if there is one. A couching presser foot would be even better. A center pull ball or thread wound around a reused thread spool are good ways to hold the thread, and I typically let it dispense from my lap.
January 19, 2011
Lining Stretch Wovens 2
I decided to answer my own question ;) I took a piece of the fashion fabric, pinned to it the new lining on the bias, and tugged. I am almost satisfied. The horizontal stretch was good, and the fashion fabric has no vertical stretch. The only negative is the lack of bias stretch, which is on the straight grain for the lining thus immovable. On the true bias the lining doesn't stretch but any other angle does have some give. By adding a good sized pleat to the center back, and a smaller amount to the sleeve linings, I think all should be well.
Hopefully tomorrow I can take some photos to demonstrate, providing the muscle spasm in my neck calms down. I'd like to cut the lining and start assembly of the jacket tomorrow or this weekend.
There are a couple unusual aspects of this jacket that I think others might find interesting. The interlining is thick and doesn't ravel so I'm planning to lap the seams to reduce bulk. I may build the jacket in three layers. Or maybe lap the interlining and one layer of the lining, fold under the seam allowance of the second lining piece, and topstitch it to the lining and interlining. Looks like I'll be practicing on scraps first!
Subscribe to:
Posts (Atom)
